Organization settings let you manage settings that apply across the entire organization. Owners and admins can change settings, while members can view the current configuration.Documentation Index
Fetch the complete documentation index at: https://docs.jitera.ai/llms.txt
Use this file to discover all available pages before exploring further.
Settings Page Structure
Organization settings are divided into the following sections.| Section | Content |
|---|---|
| General | Organization info, AI models, MFA, SSO |
| Members | Member invitations and role management |
| Teams | Team creation and management |
| Billing & Usage | Plans, credits, seats |
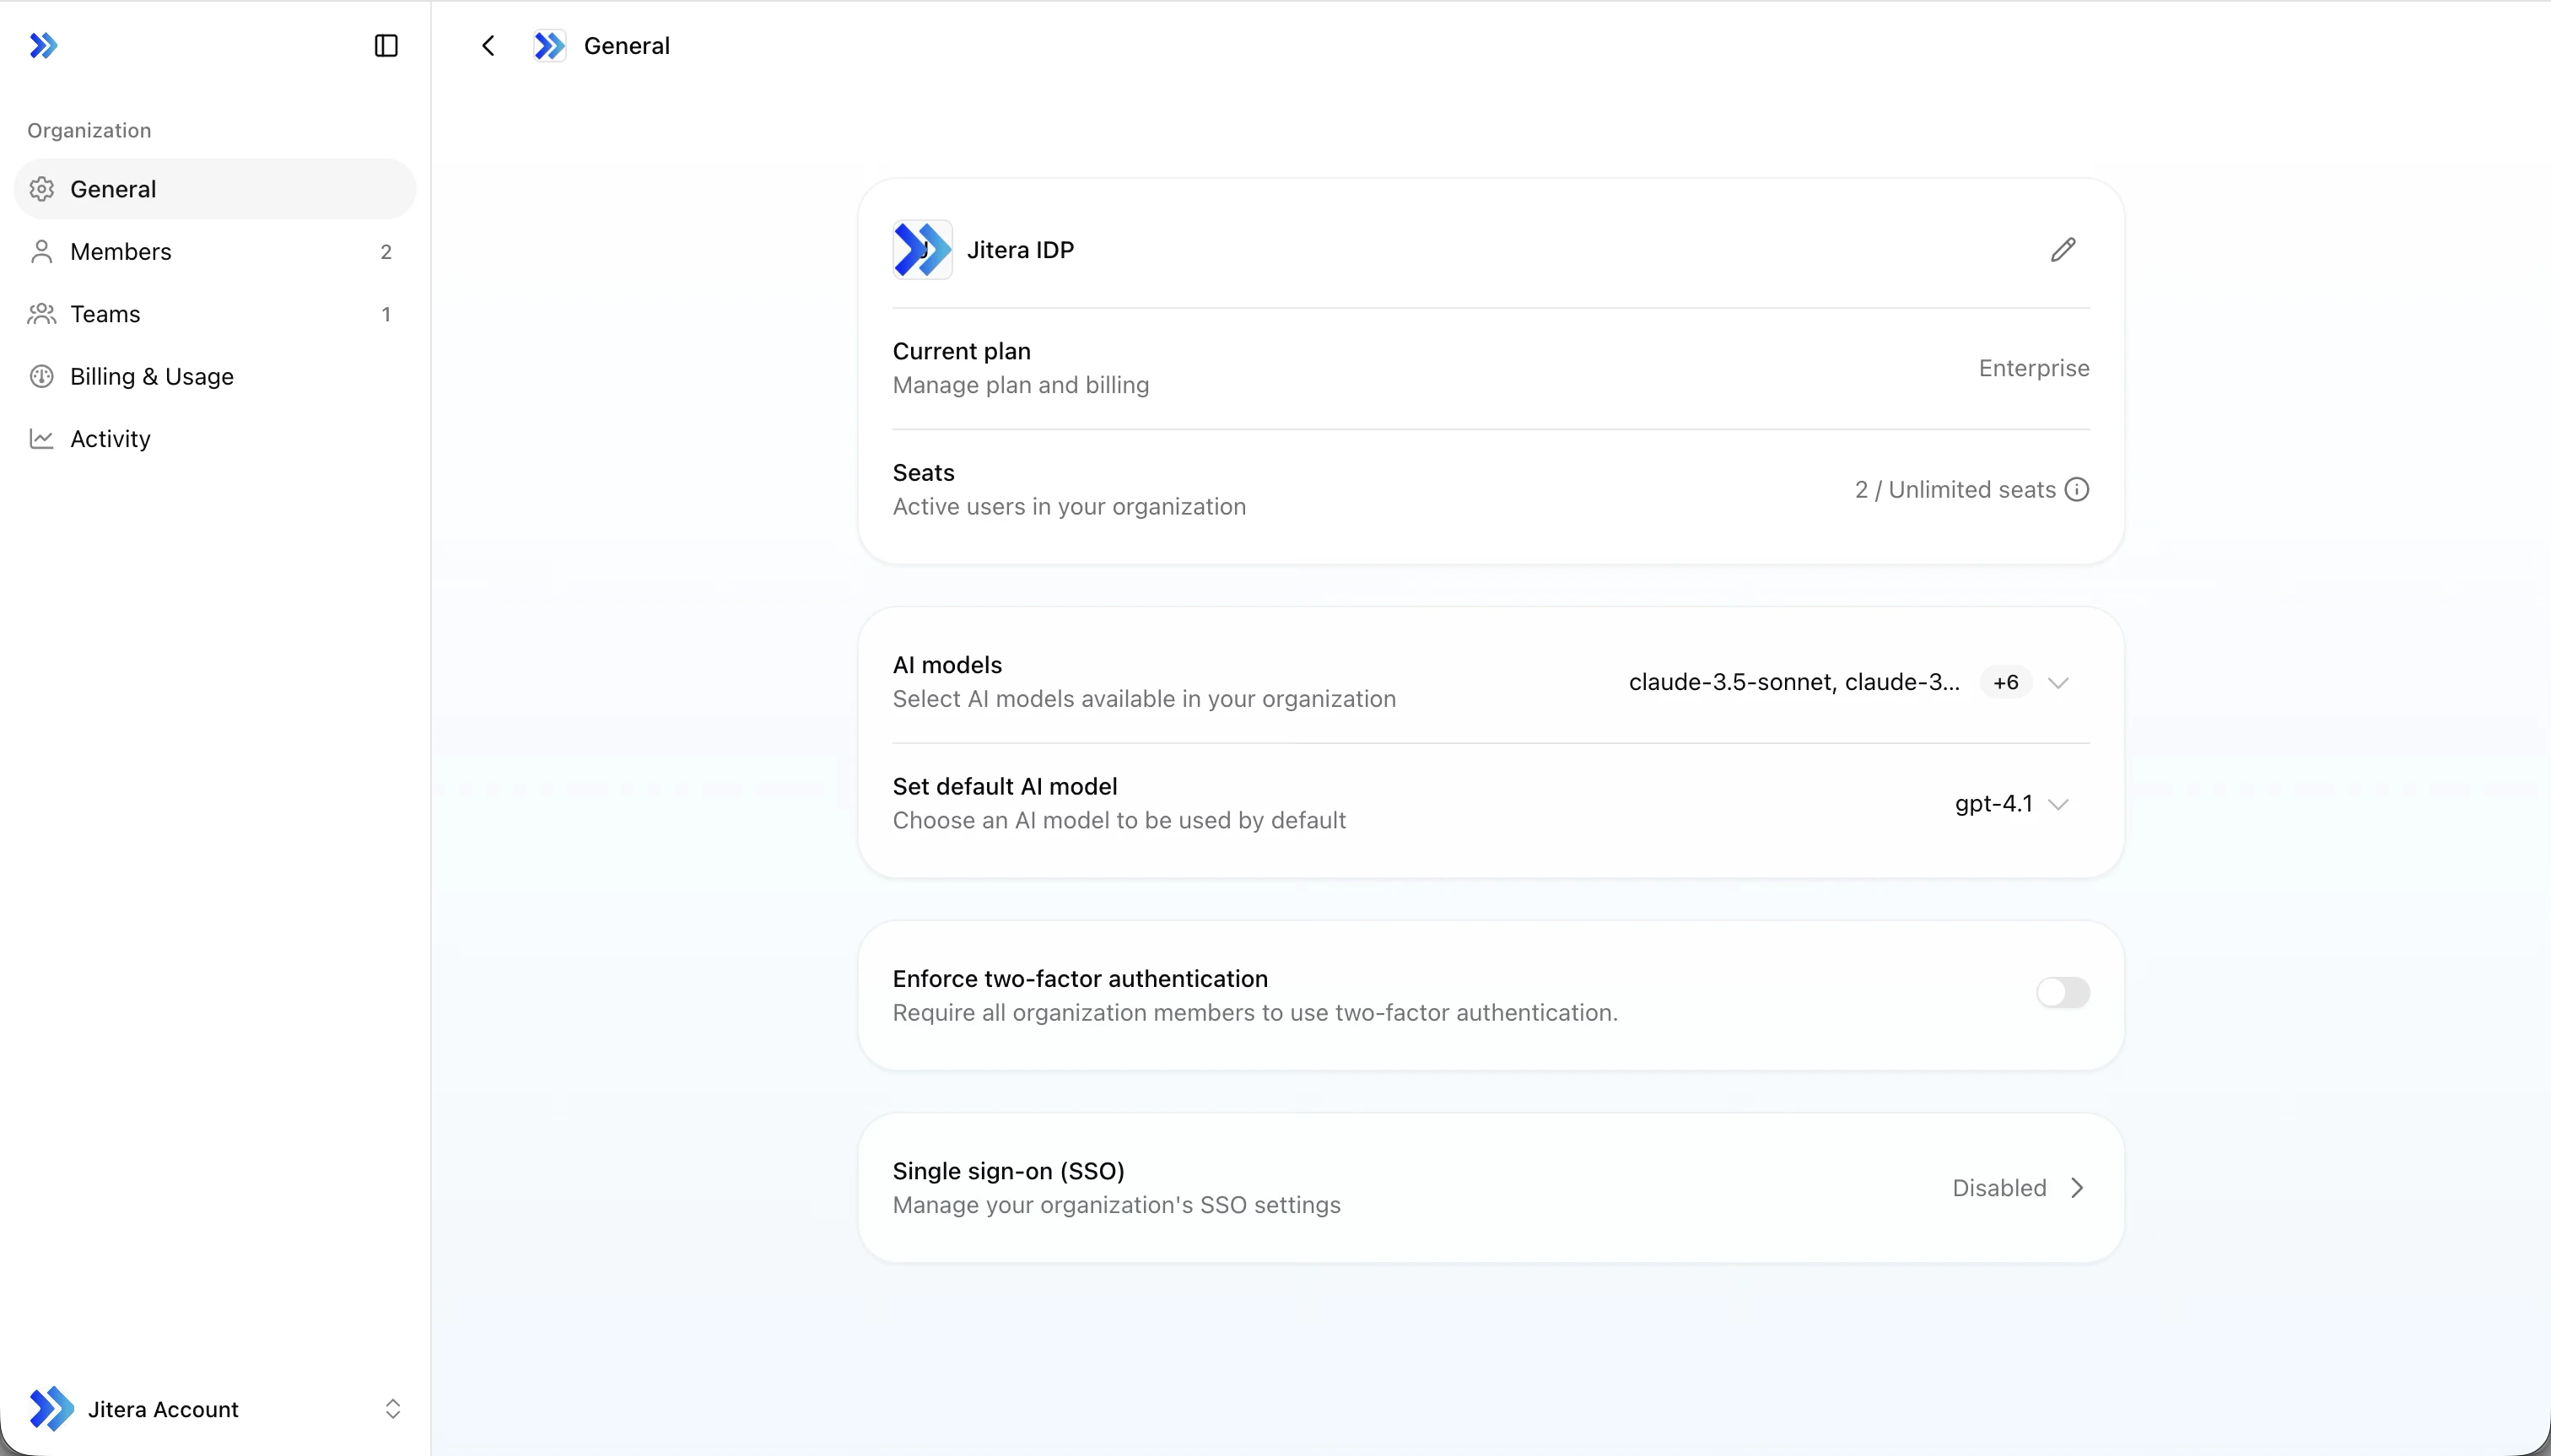
Profile
- Change the organization name
- Upload a logo
- View the current plan and seat usage
AI Model Management
Configure which AI models are available to your organization and set the default model.- Available models — Select multiple models for organization members to use. The main providers are OpenAI, Anthropic, and Google. The default model cannot be disabled. A confirmation dialog is shown when disabling a model that is currently in use
- Default model — Set the model that is initially selected for new projects and agents
MFA (Multi-Factor Authentication) Enforcement
You can enforce multi-factor authentication across the entire organization. When enabled, all members are required to set up MFA.- Toggle Enforce MFA on the general settings page to enable or disable
- A confirmation dialog is shown when enabling
SSO Configuration
SSO is available on the Enterprise plan only. The configuration dialog is disabled for organizations on other plans.
SSO with Microsoft Entra ID
Step-by-step guide with sample values for connecting Jitera to Microsoft Entra ID.
1. Copy Service Provider values to your IdP
Your identity provider needs these values to trust Jitera. Copy them from the read-only fields at the top of the dialog.| Field | Description |
|---|---|
| Issuer | SP Entity ID issued by Jitera |
| Assertion Consumer Service URL | SAML authentication callback URL |
2. Provide your IdP configuration
Pick the method that works best for your identity provider.- Metadata URL
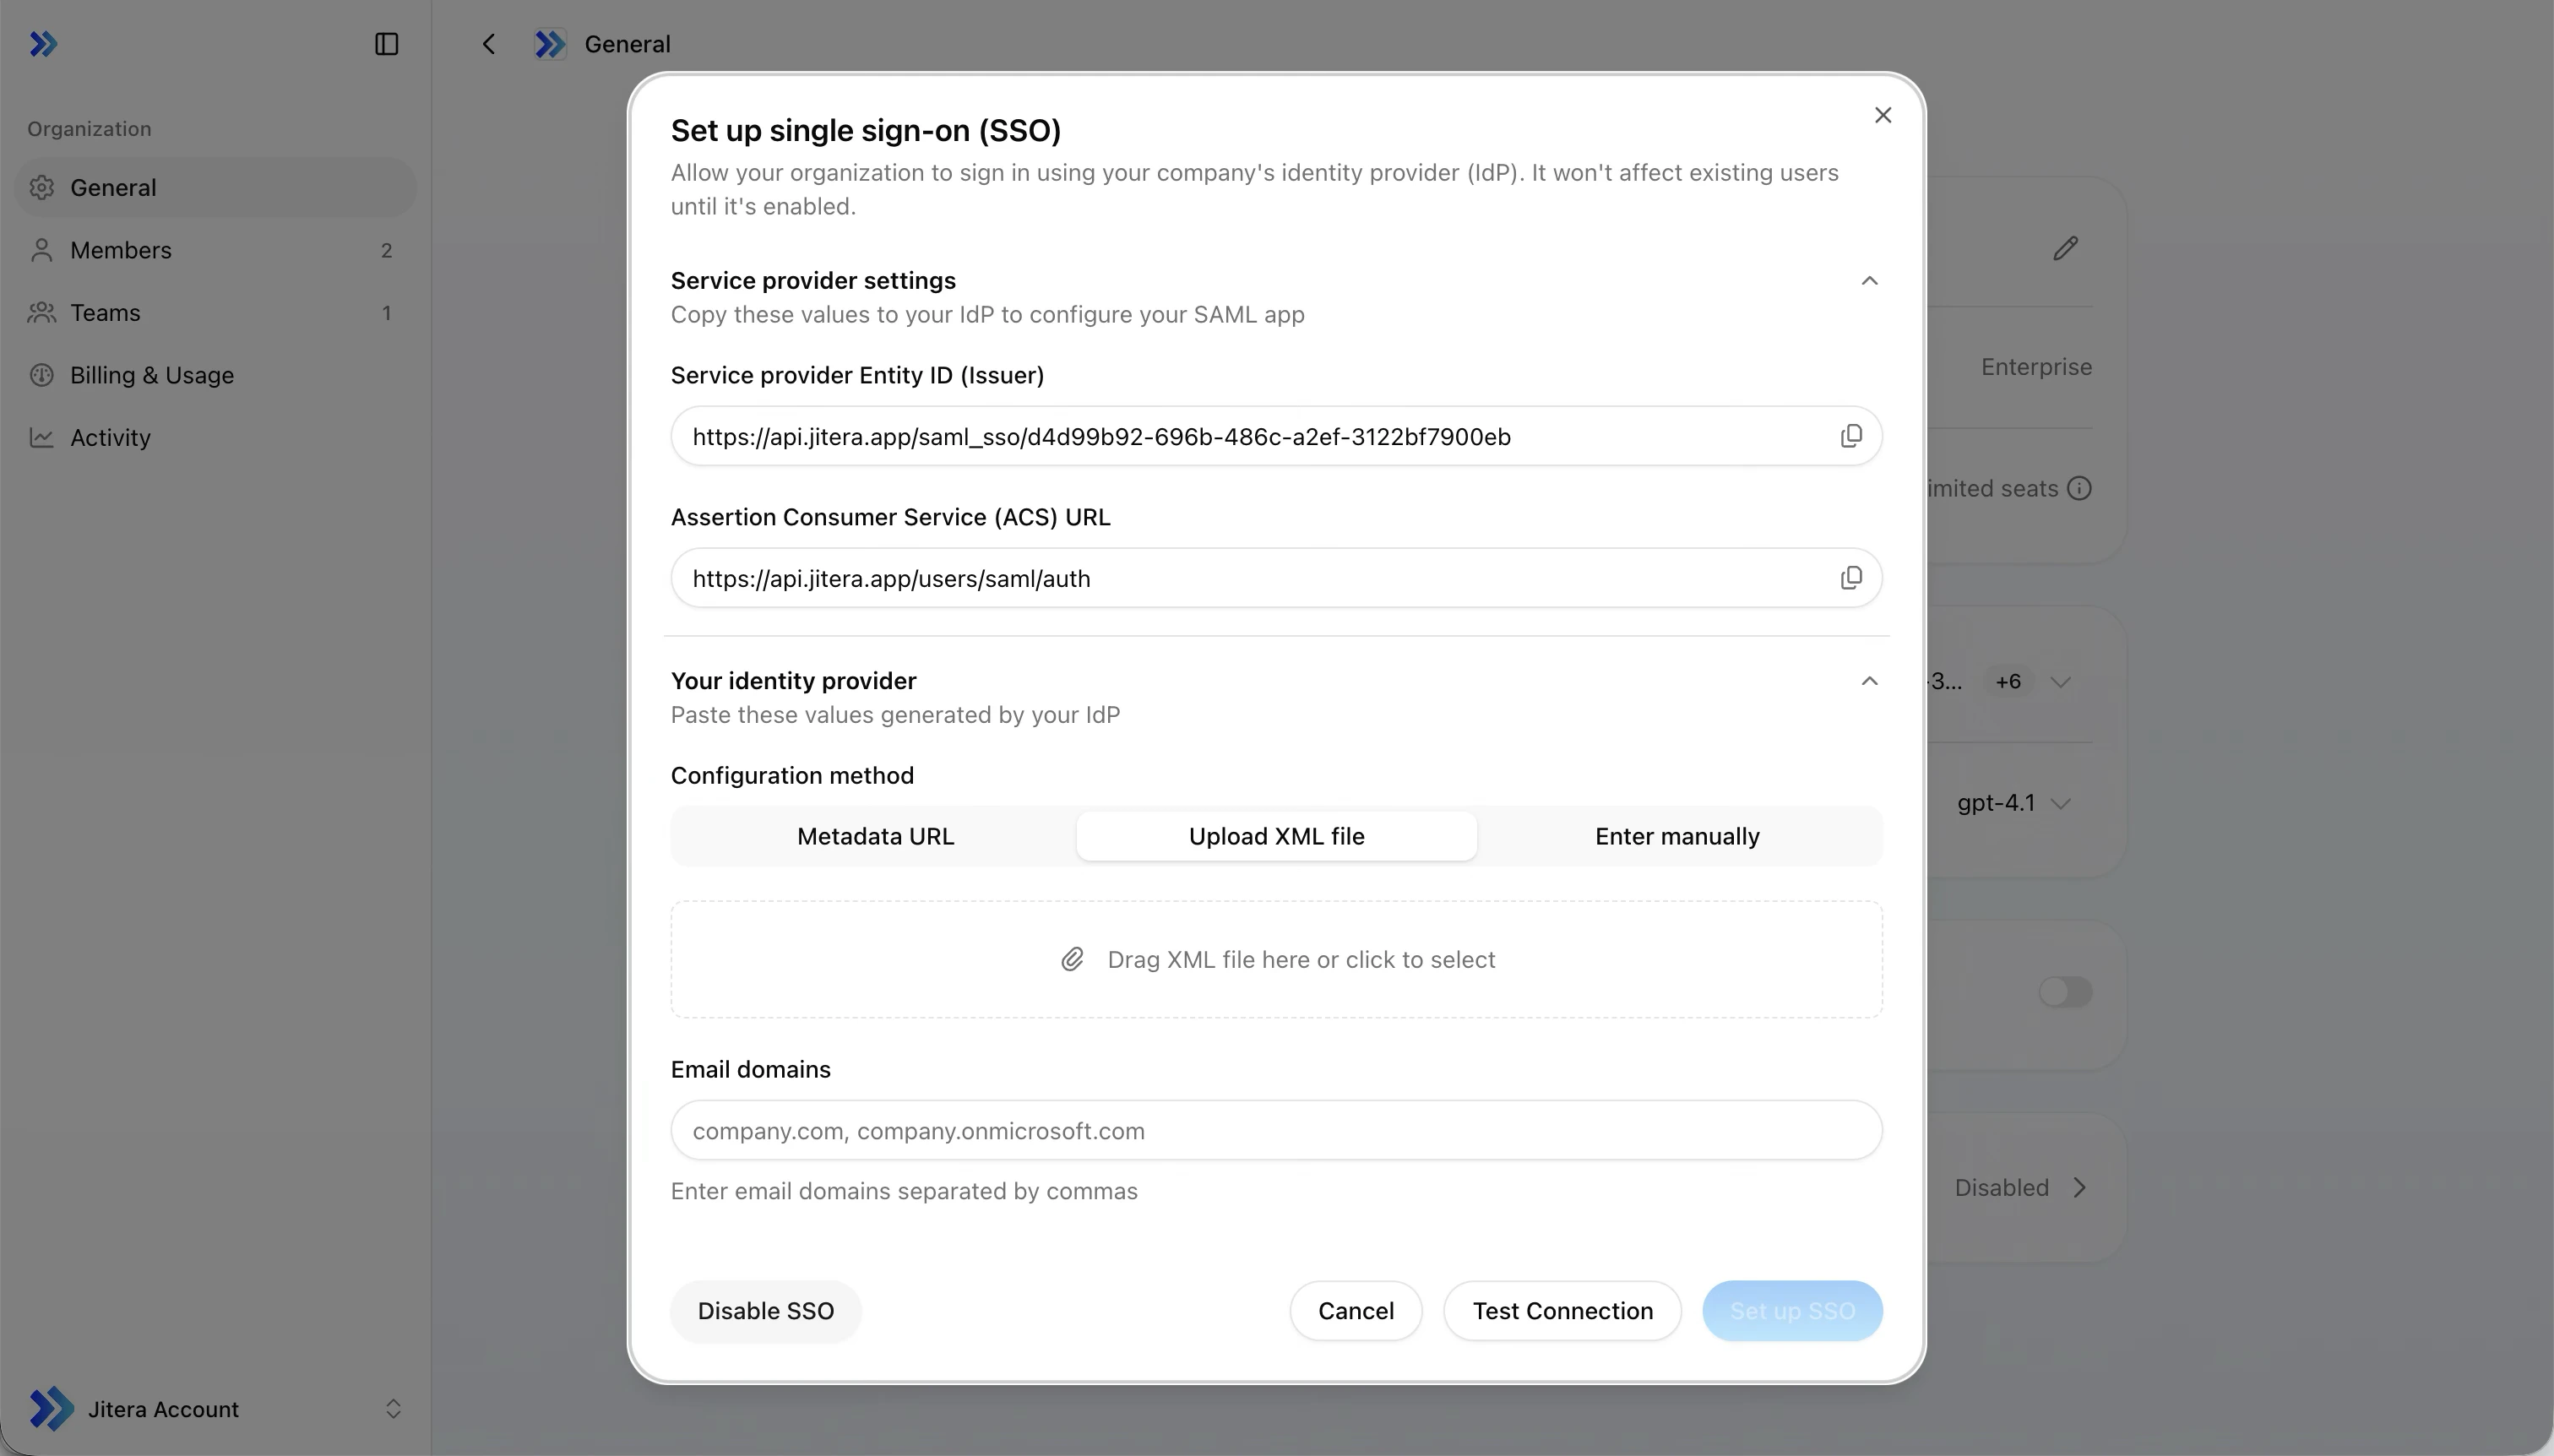
- Upload XML
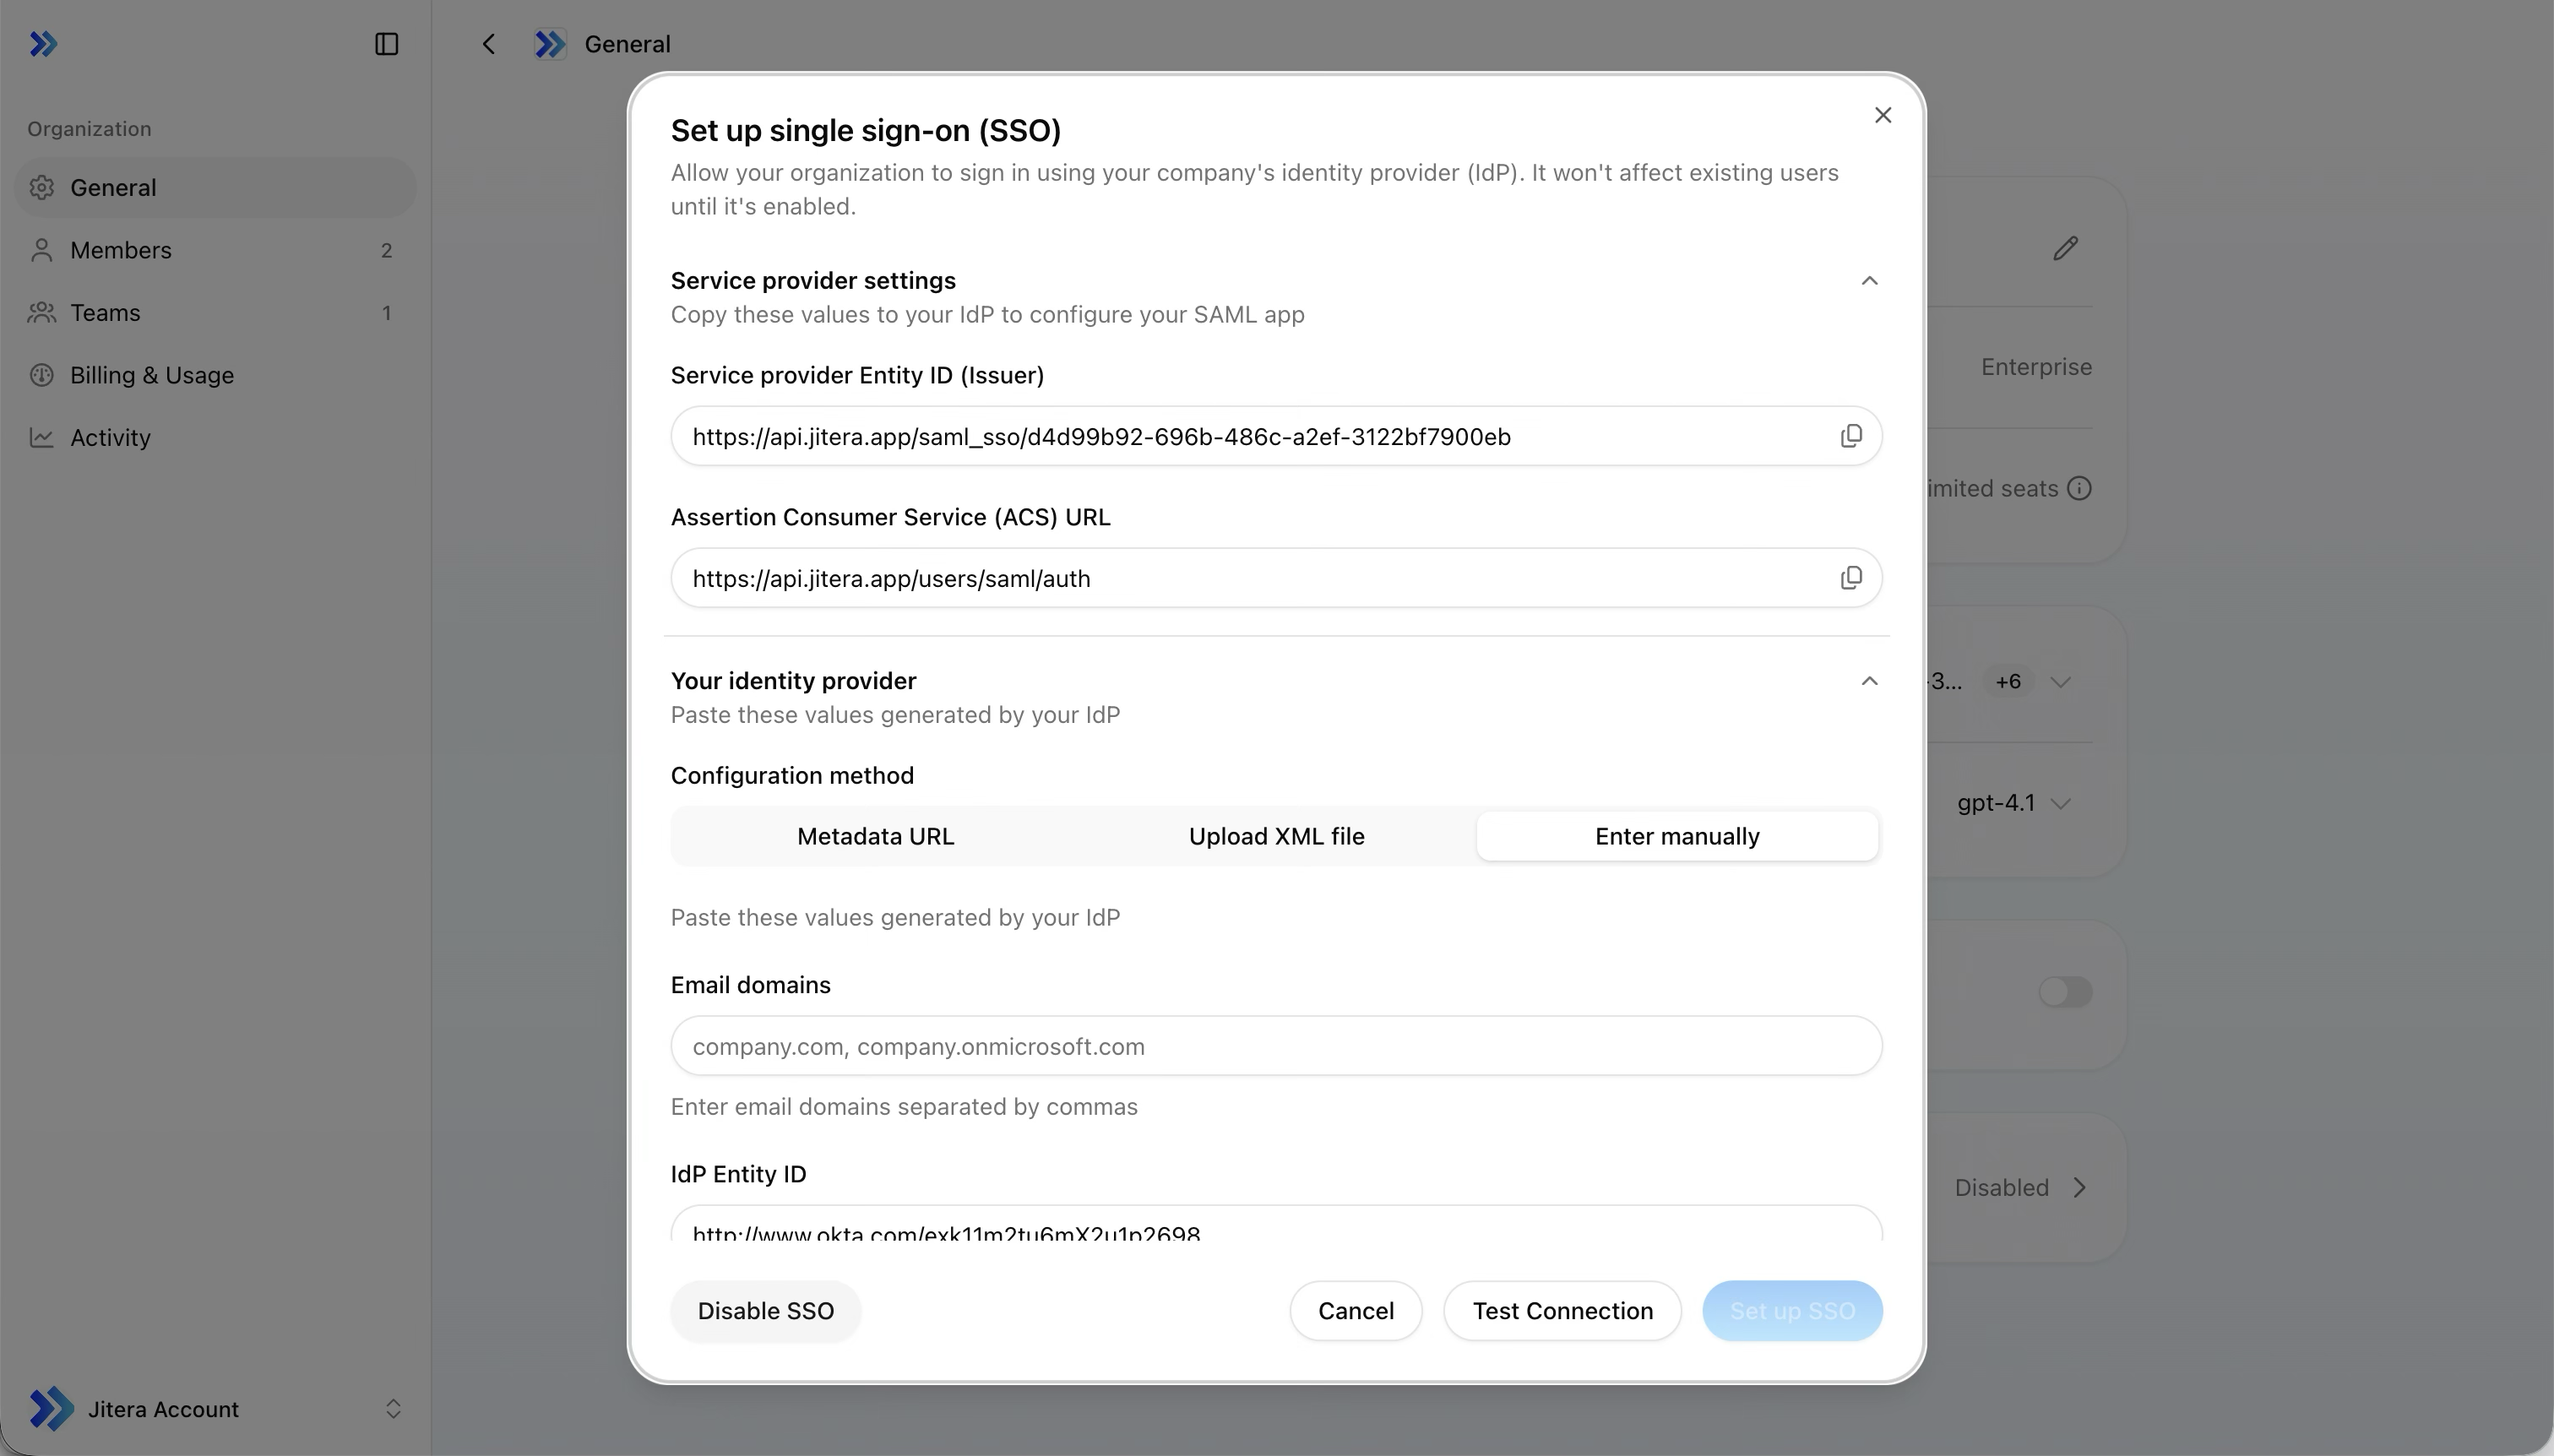
- Manual entry
Paste your IdP’s metadata endpoint URL and click Fetch. The fields below auto-fill from the metadata.Works with Microsoft Entra ID, Okta, and other IdPs that expose a metadata URL.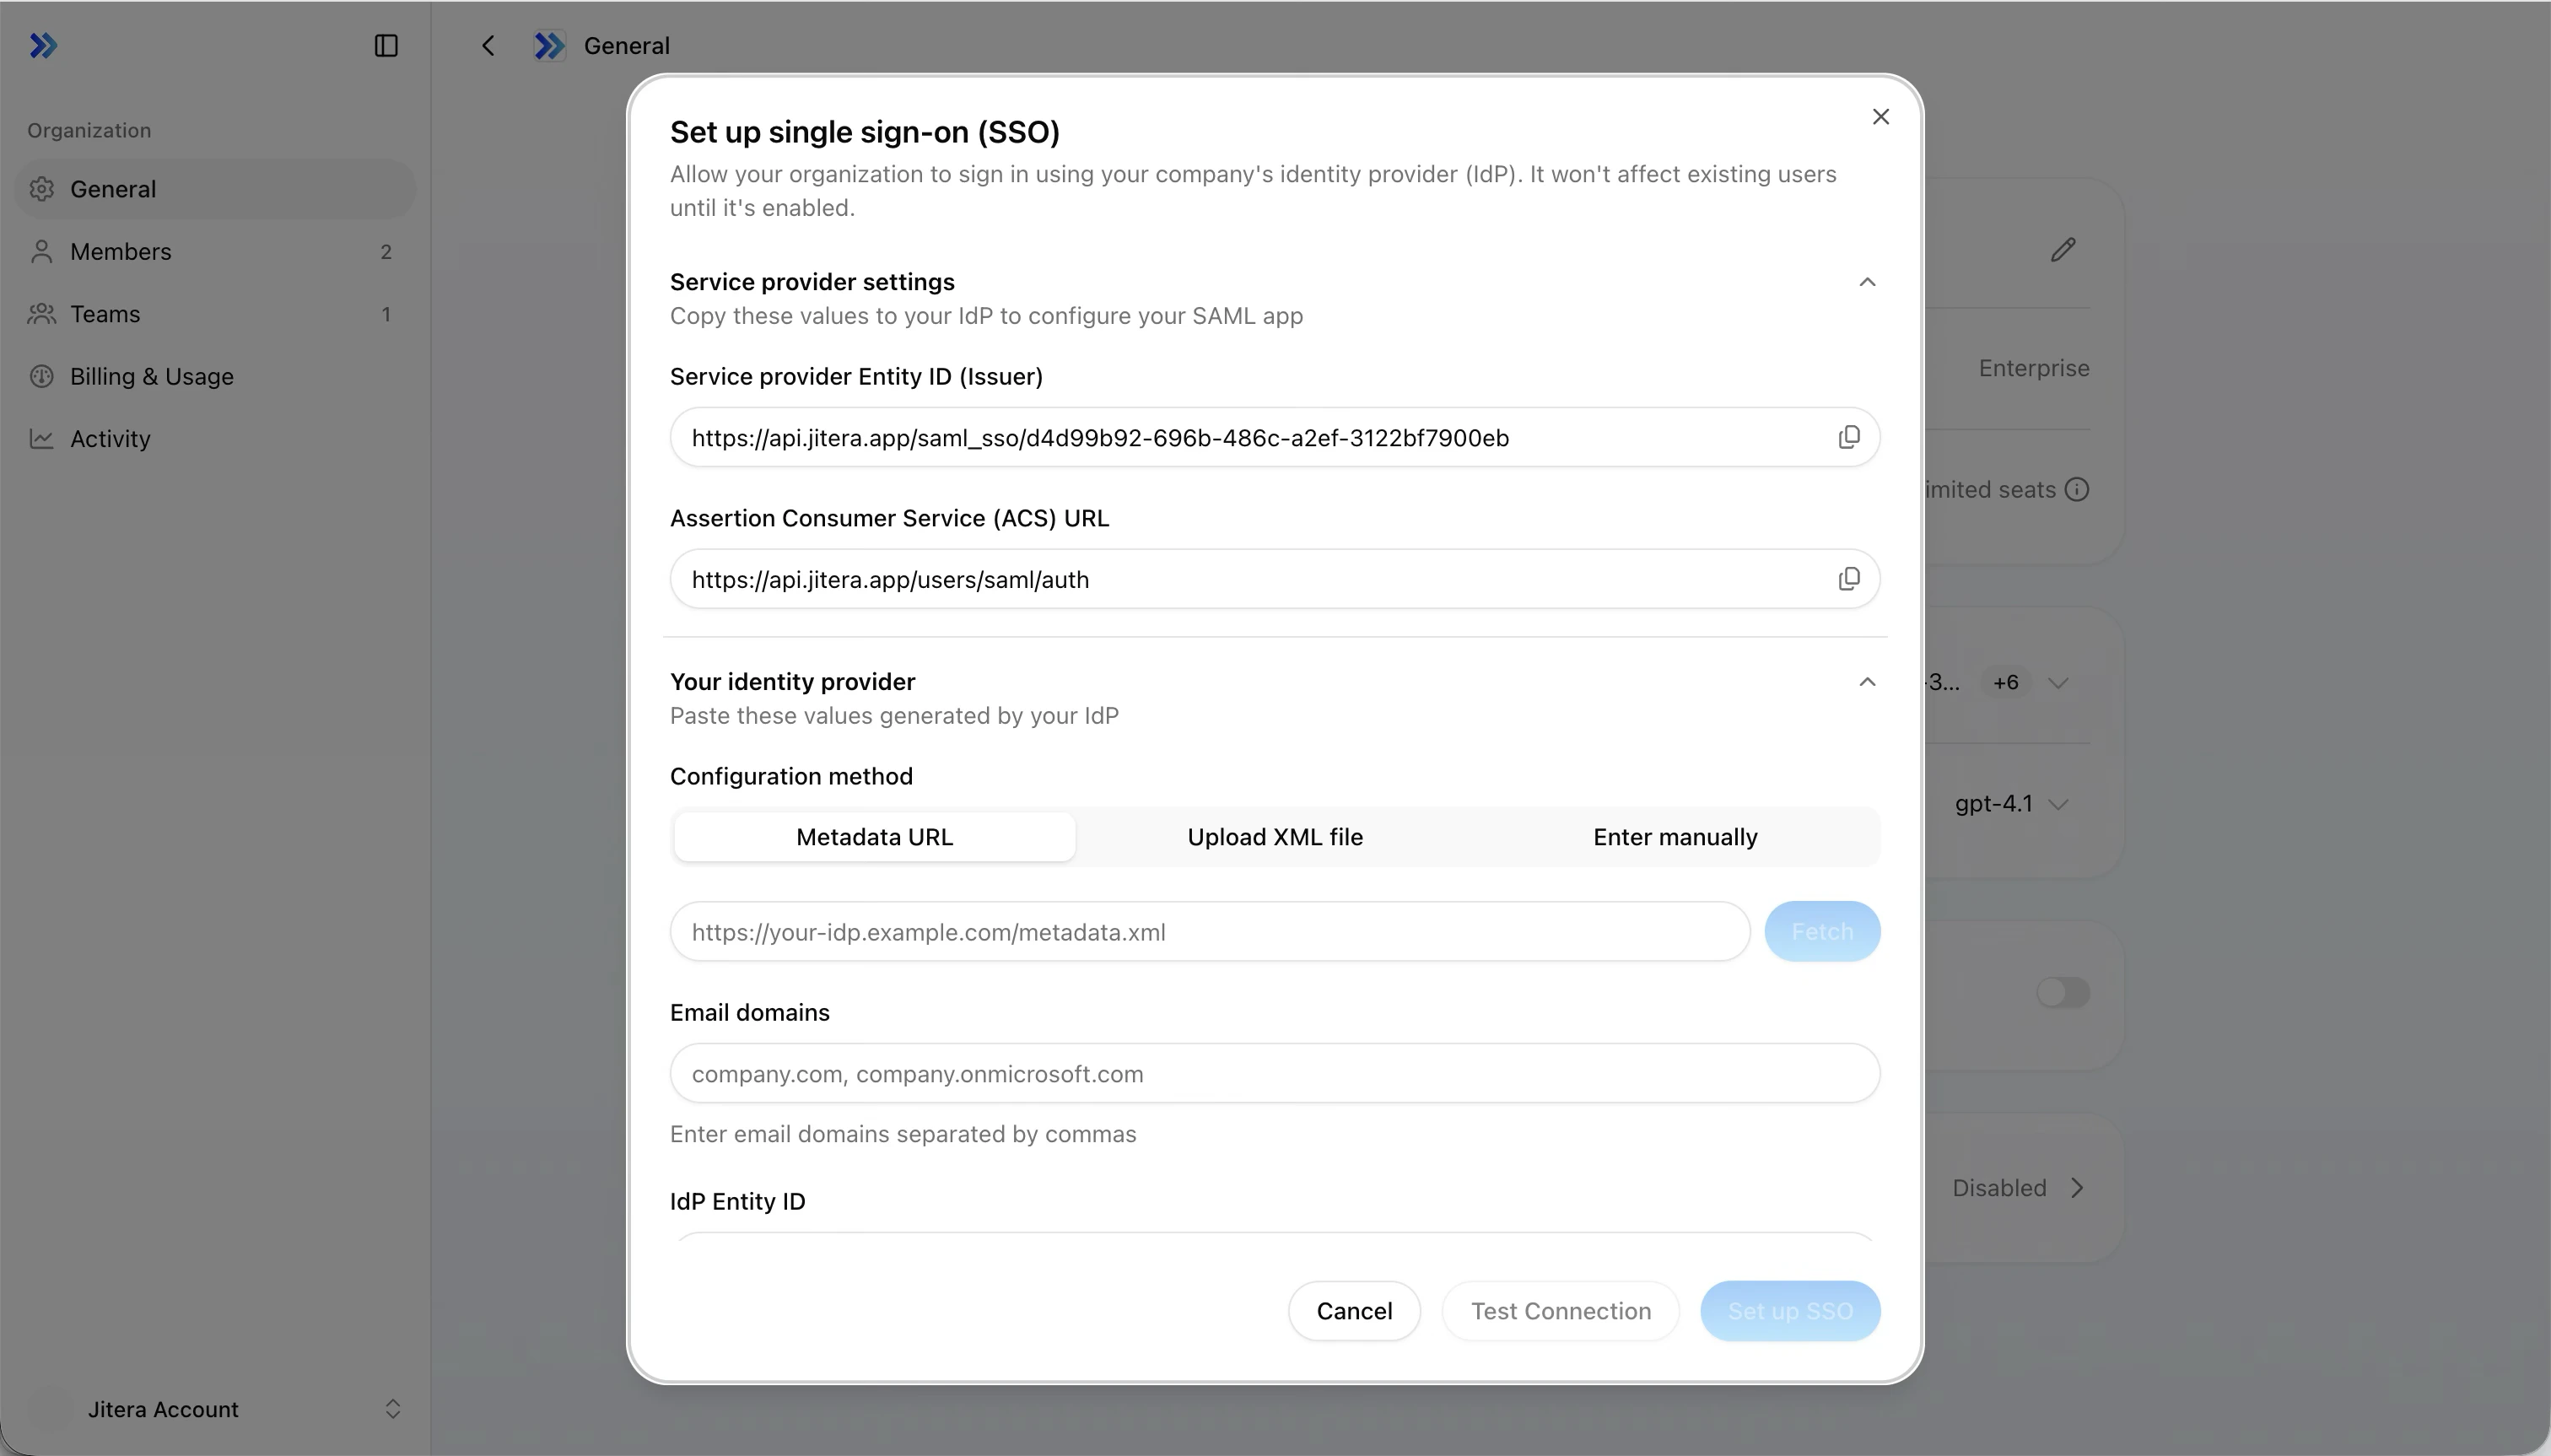
| Field | Description |
|---|---|
| Email domains | Domains subject to SSO, comma-separated (e.g. example.com, corp.example.com) |
| IdP Entity ID | Your identity provider’s Entity ID |
| IdP SSO Service URL | SAML login endpoint URL |
| IdP Certificate Fingerprint | X.509 certificate fingerprint (SHA-1 or SHA-256 accepted) |
| State | Condition |
|---|---|
| Normal | More than 30 days remaining |
| Warning (amber) | 30 days or fewer remaining |
| Critical (red) | 7 days or fewer remaining, or already expired |
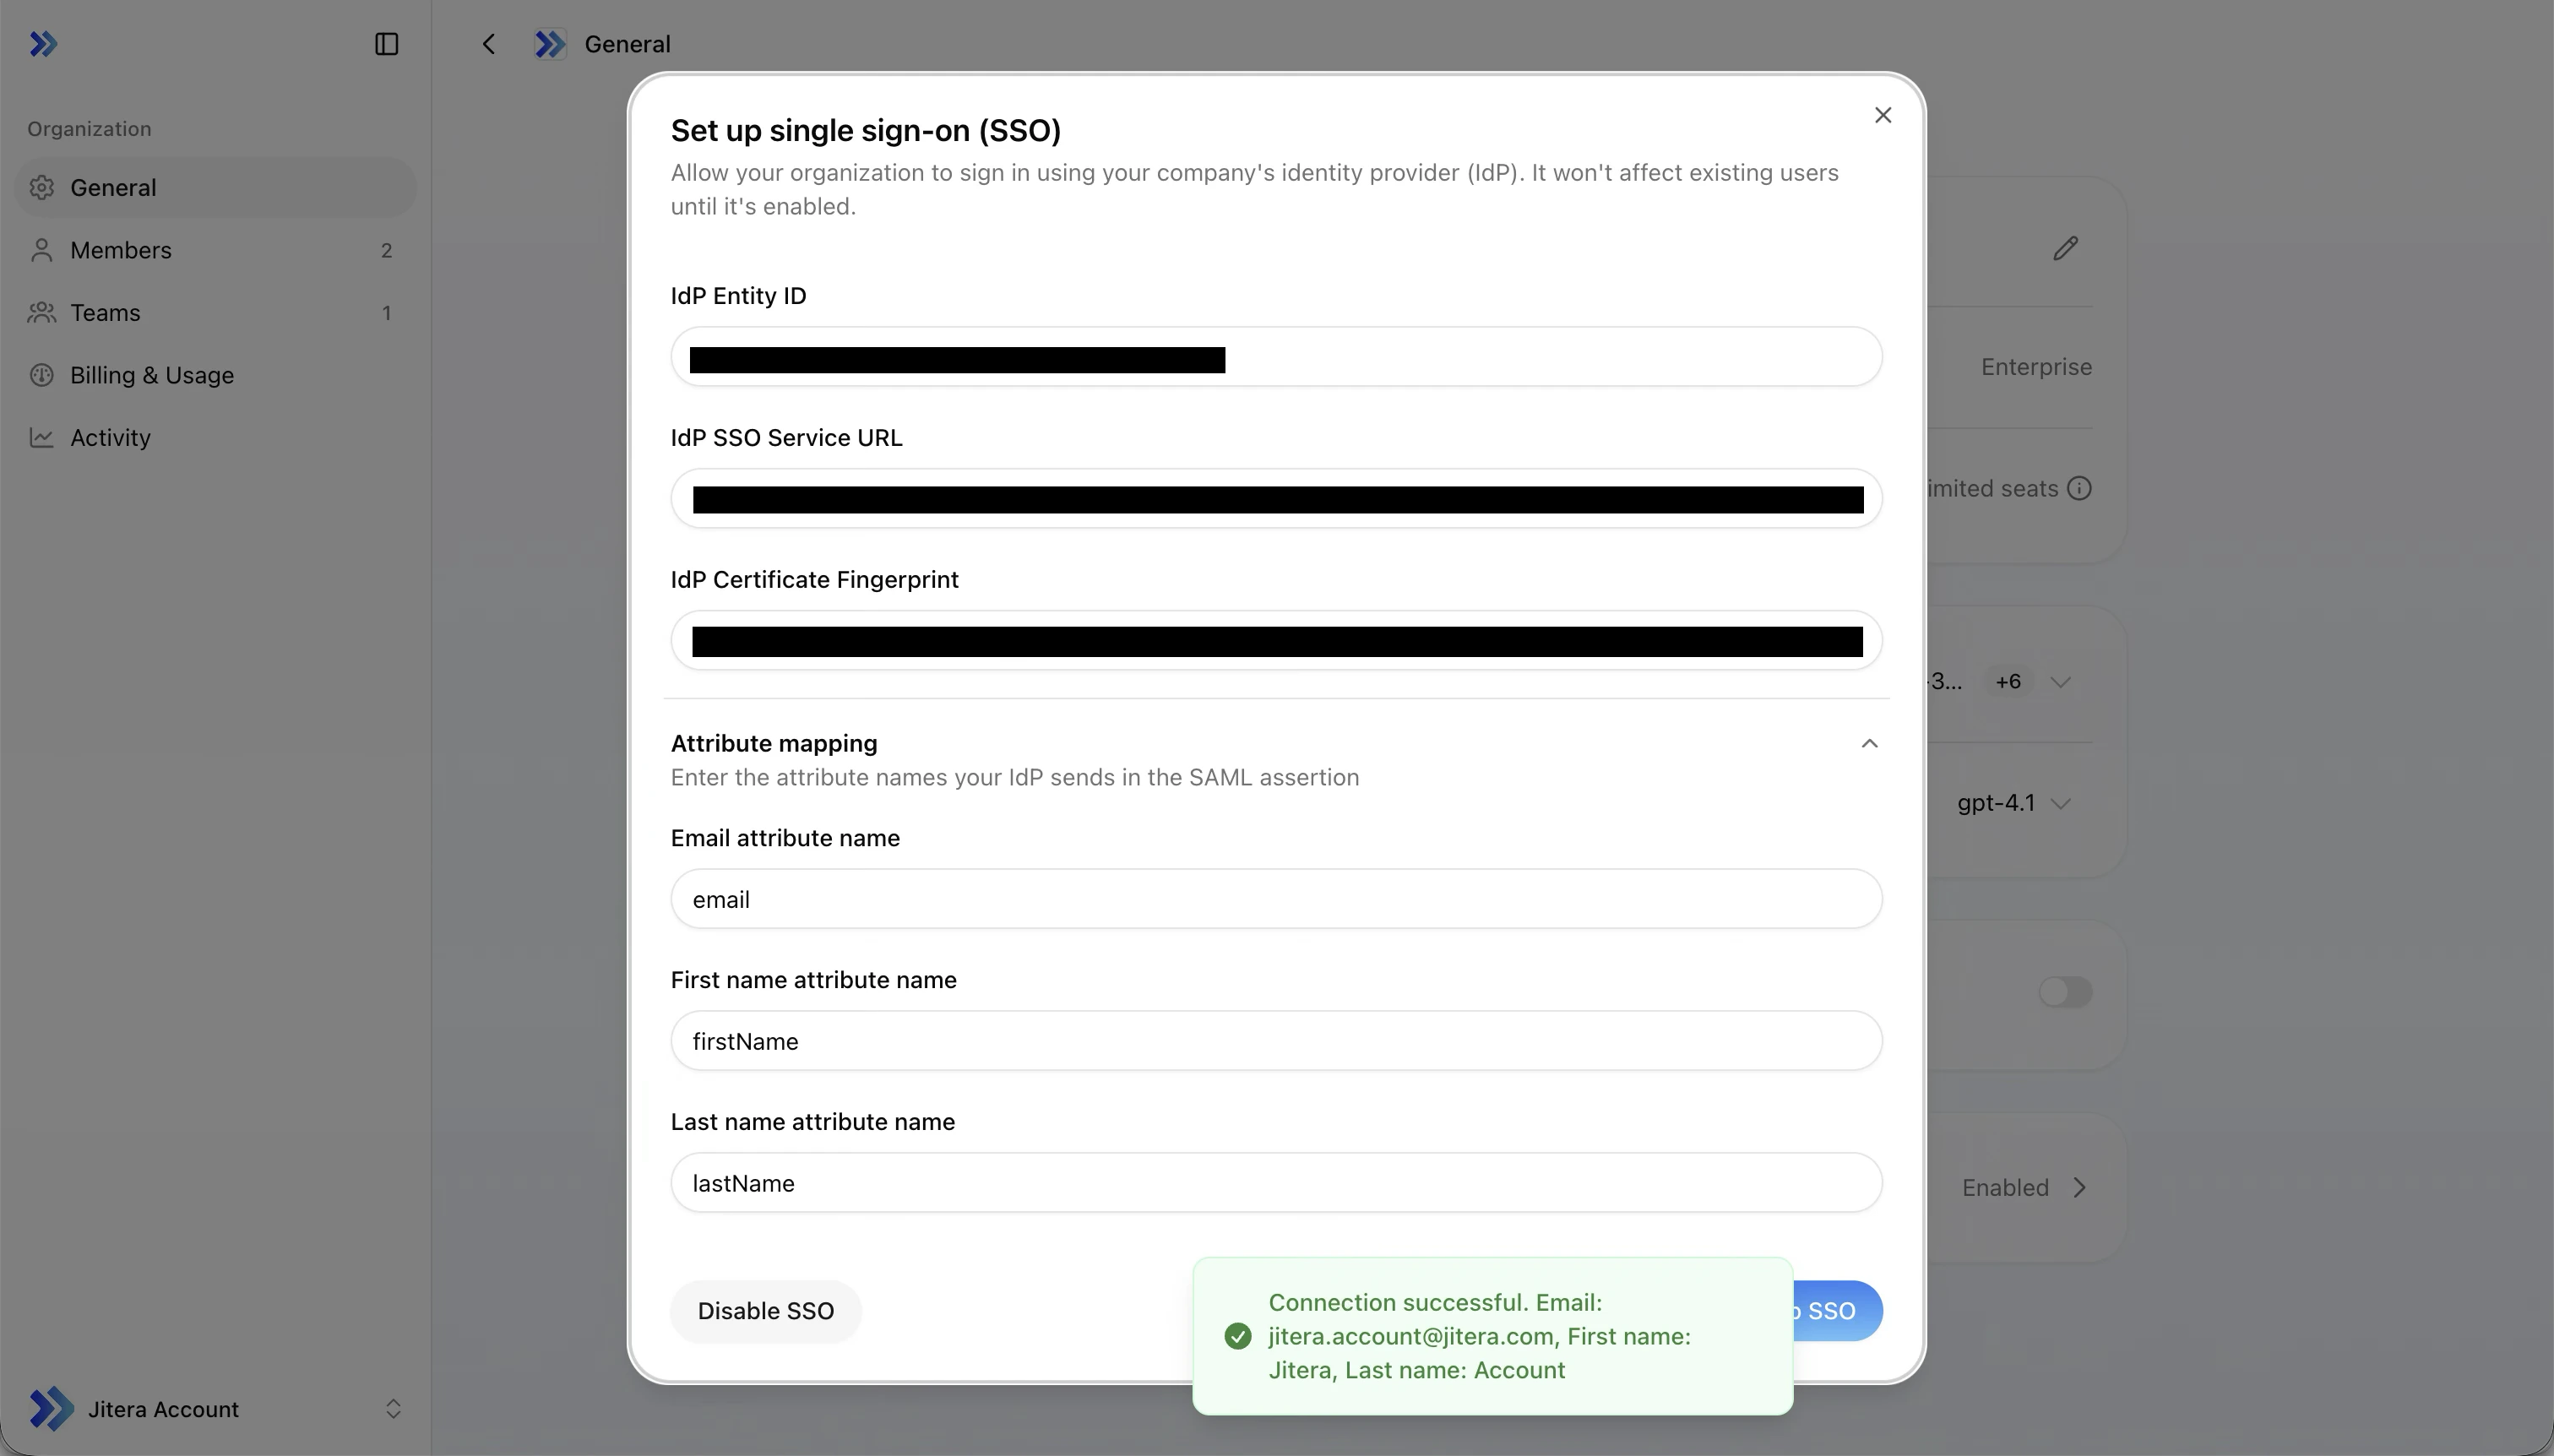
3. Configure attribute mapping

| Field | Default | Microsoft Entra ID |
|---|---|---|
email | http://schemas.xmlsoap.org/ws/2005/05/identity/claims/email | |
| First name | firstName | http://schemas.xmlsoap.org/ws/2005/05/identity/claims/givenname |
| Last name | lastName | http://schemas.xmlsoap.org/ws/2005/05/identity/claims/surname |
Check your IdP’s documentation for the exact attribute names it sends in the SAML assertion. Common names differ between providers.
4. Save and test
Click Set up SSO to save. SSO is enabled immediately.You must save before testing. The Test Connection button is disabled until the configuration is saved. If you edit the form after saving, save again before testing.
- A new browser tab opens your IdP login page
- Authenticate with your credentials
- On success, a notification shows the extracted email, first name, and last name. Verify they match the expected values.
- On failure, a specific error message indicates what went wrong
Billing & Usage
- Plan — View the current plan (Free / Pro / Max / Enterprise), upgrade or cancel
- Credits — View balance and usage rate, reset date
- Seats — View active user count and limit
Related
- Members & Teams — Invite members and manage roles
- Project Setup — Create and configure projects