Context is a system that lets AI agents learn and accumulate project knowledge through conversations. As you chat, agents identify entities — documents, concepts, services, and more — and store them as natural language descriptions in a structured knowledge graph. Each agent maintains its own isolated context graph, so different agents build specialized knowledge for their domain without interference.Documentation Index
Fetch the complete documentation index at: https://docs.jitera.ai/llms.txt
Use this file to discover all available pages before exploring further.
How context is built
Context is built in two ways:- Learning Mode — Manually enable context creation during a conversation. In the chat input area, click the Learning mode toggle, then chat normally. The agent identifies and creates entities in the background as it responds.
- Automatic Mode — After each conversation, the agent automatically extracts key knowledge and adds it to the context. This happens in the background without any action on your part. Only confirmed facts from your statements are stored — questions, greetings, and assistant-only knowledge are not captured.
Context View
To see what the agent has learned:- Click Show context in the chat header
- The context panel opens, displaying the entities associated with the current agent
- The agent’s name and avatar appear in the top-left corner, indicating which agent’s context you are viewing
Context Graph
The Context Graph provides a network visualization of all entities and their relationships. The graph updates in real time as the agent creates, updates, or deletes entities during a conversation. To open the graph, click the Show context button in the chat header and select the Context tab.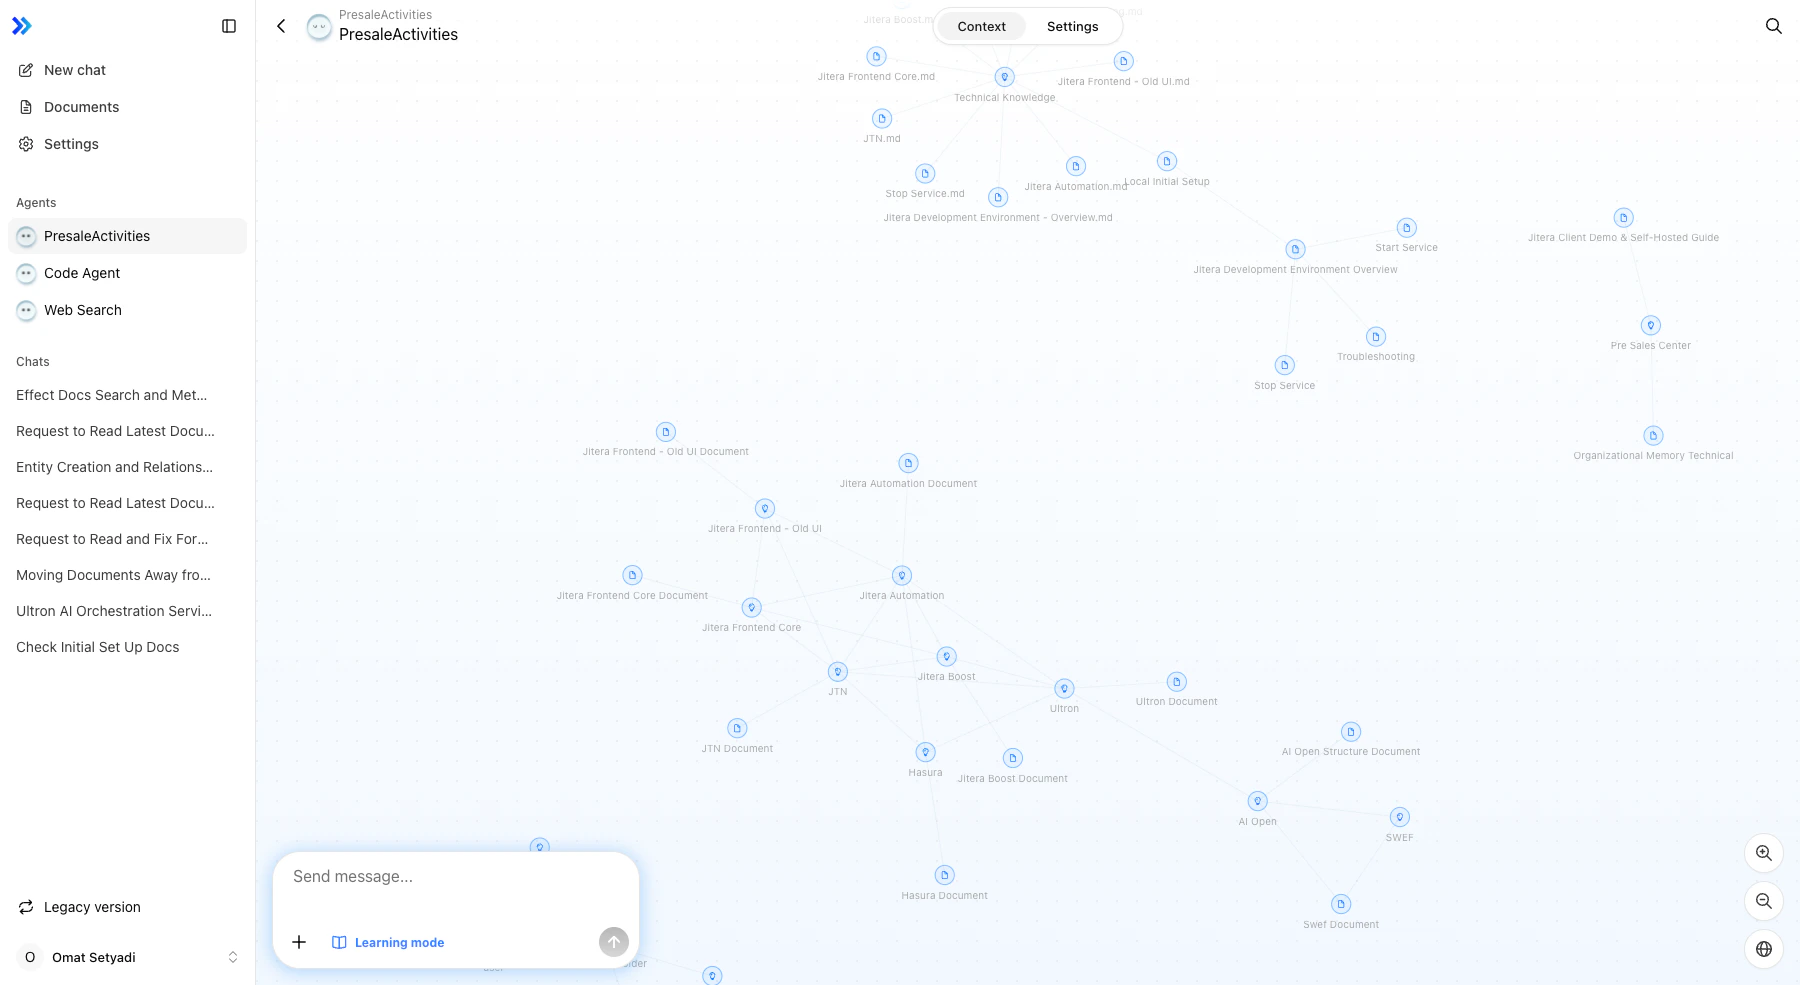
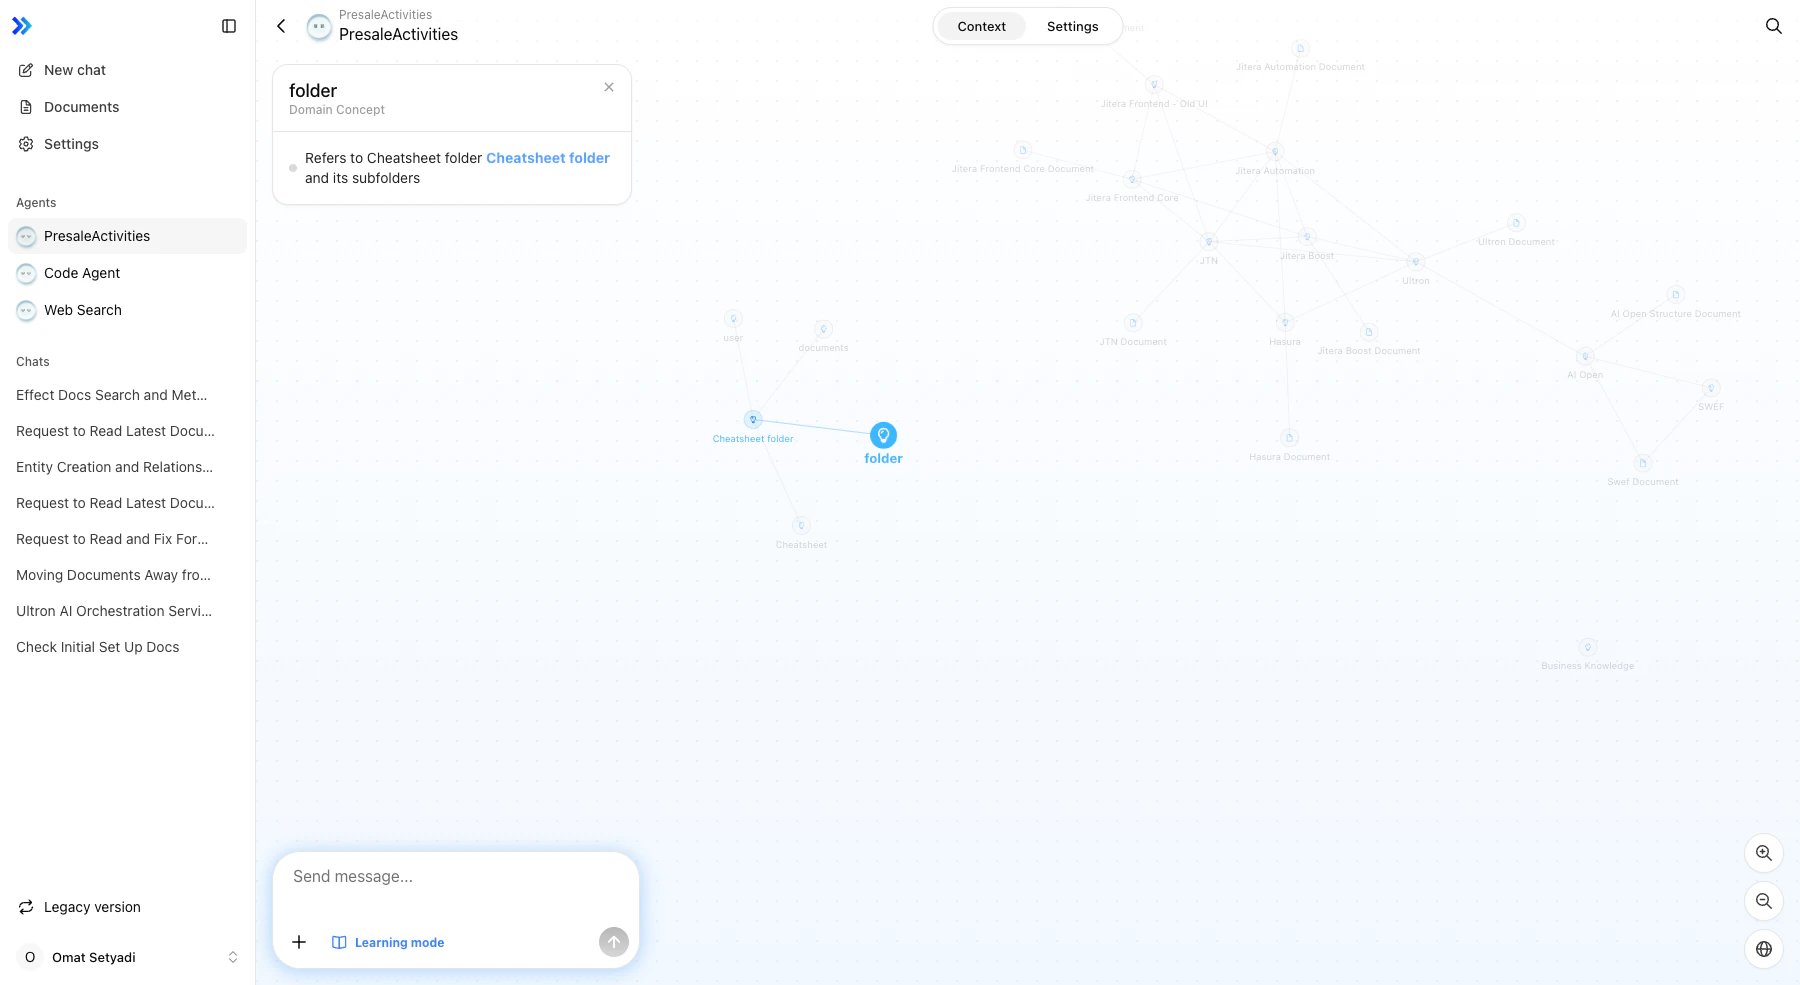
Navigating the Graph
- Click a node to select it and view its details (name, type, description, relationships)
- Click related entity links (displayed as
[[entity name]]references) in the detail panel to navigate between connected entities - Zoom using the controls in the bottom-right corner
- Pan by clicking and dragging the background
Editing entities
You can manually edit entities in the detail panel:- Rename — Click the entity name to edit it inline
- Change type — Use the type dropdown to select a different type or create a new one
- Edit attributes — Add, edit, or delete individual attributes. Attributes can reference other entities using
[[entity name]]links — click a link to navigate to the referenced entity. - Delete entity — Remove the entity entirely (with confirmation)
Adding entities manually
Click the Add Entity button to create a new entity. Fill in the name, type, and attributes. In attribute fields, type[[ to reference other entities with autocomplete suggestions.
Searching
Press Cmd+K (Mac) or Ctrl+K (Windows/Linux) to open the search dialog. Full-text search lets you find entities by name, type, or description content — not just exact name matches.Sharing
The URL updates automatically when you select an entity (e.g.,?ctx_id=620c30e1). Share the URL to link directly to a specific entity.
Limitations
| Limitation | Details |
|---|---|
| Graph layout | Force-directed (automatic positioning only) |
| Graph export | Not supported |
| Custom styling | Not supported |
| Relationship labels | Not shown on connection lines |
Agent-Specific Context
Each agent maintains its own context graph. When you switch between agents, the context view shows the selected agent’s graph — with its own set of entities and relationships. Knowledge learned by one agent does not appear in another agent’s context.Related
- Managing Agents — Agent creation and configuration
- AI Chat Interface — Main chat interface
- Agent Selection — Switching between agents