API keys let you access your Jitera project’s agents, data, and MCP tools from external applications. The API is OpenAI-compatible — any tool or SDK that works with the OpenAI API can connect to Jitera by changing the base URL and API key.Documentation Index
Fetch the complete documentation index at: https://docs.jitera.ai/llms.txt
Use this file to discover all available pages before exploring further.
Navigating to API Keys
From your project, go to Settings > Development > API keys.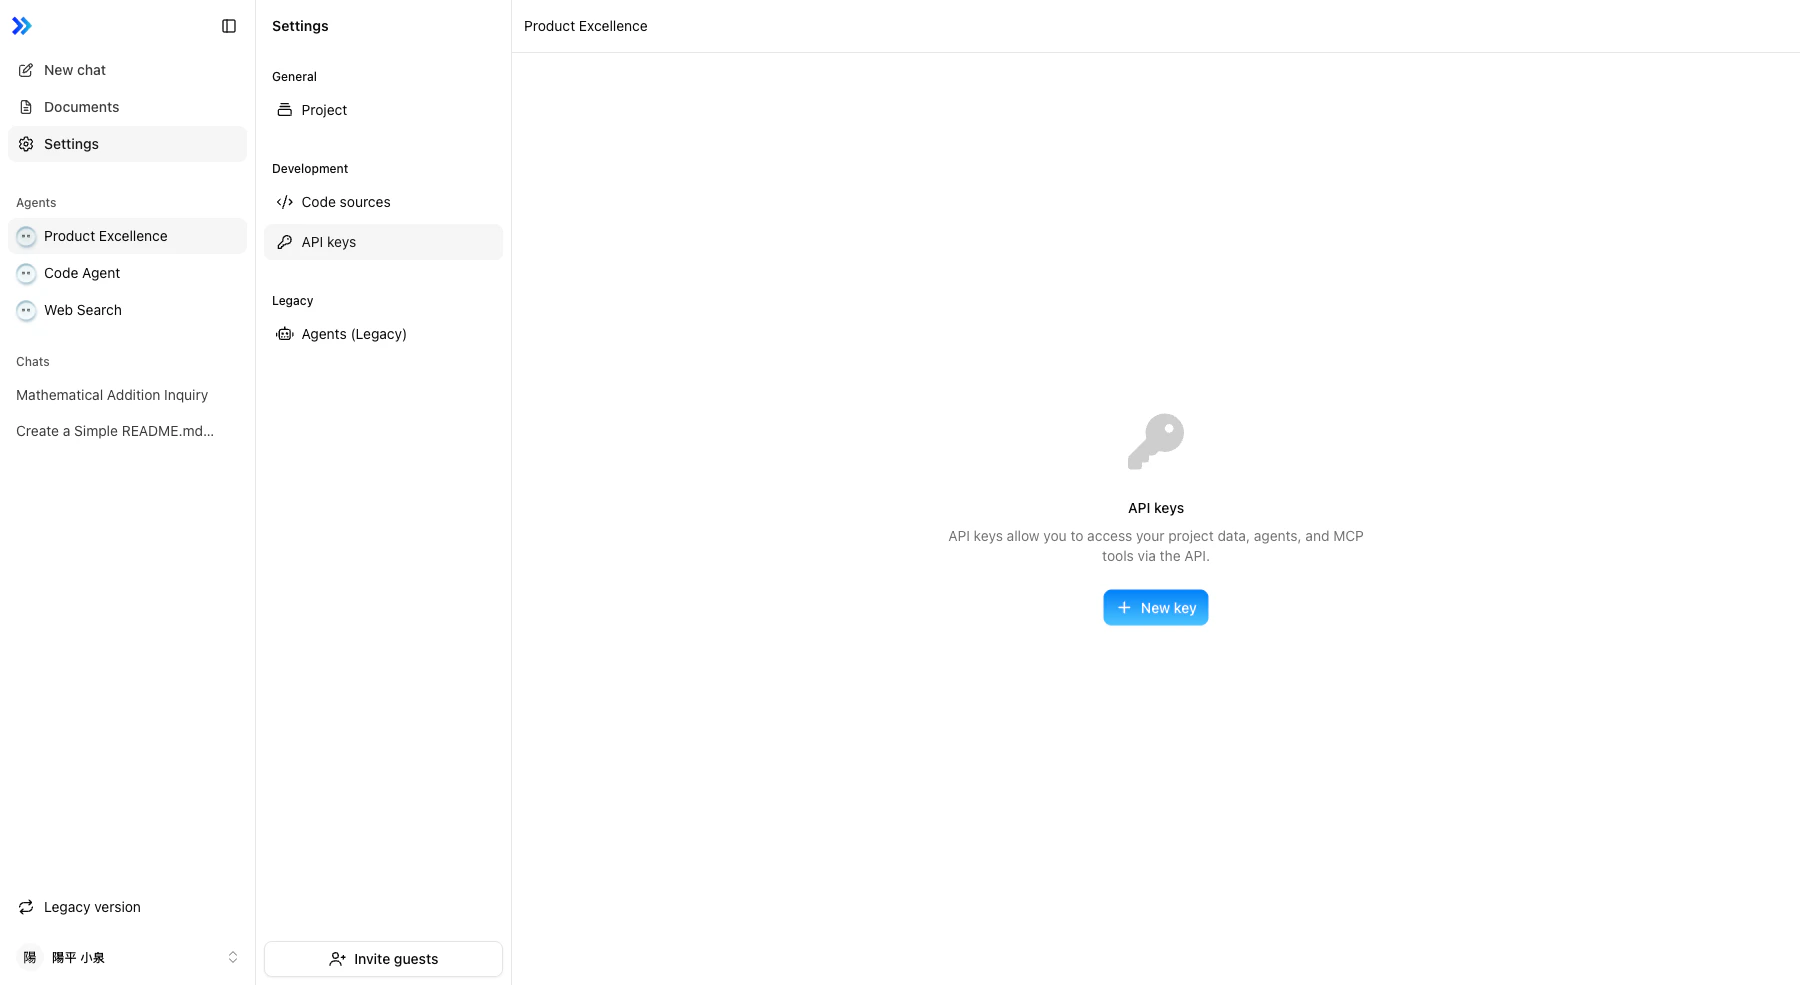
Creating an API Key
Only project Owners and Admins can create API keys. All project members can view existing keys.
-
Click + New key
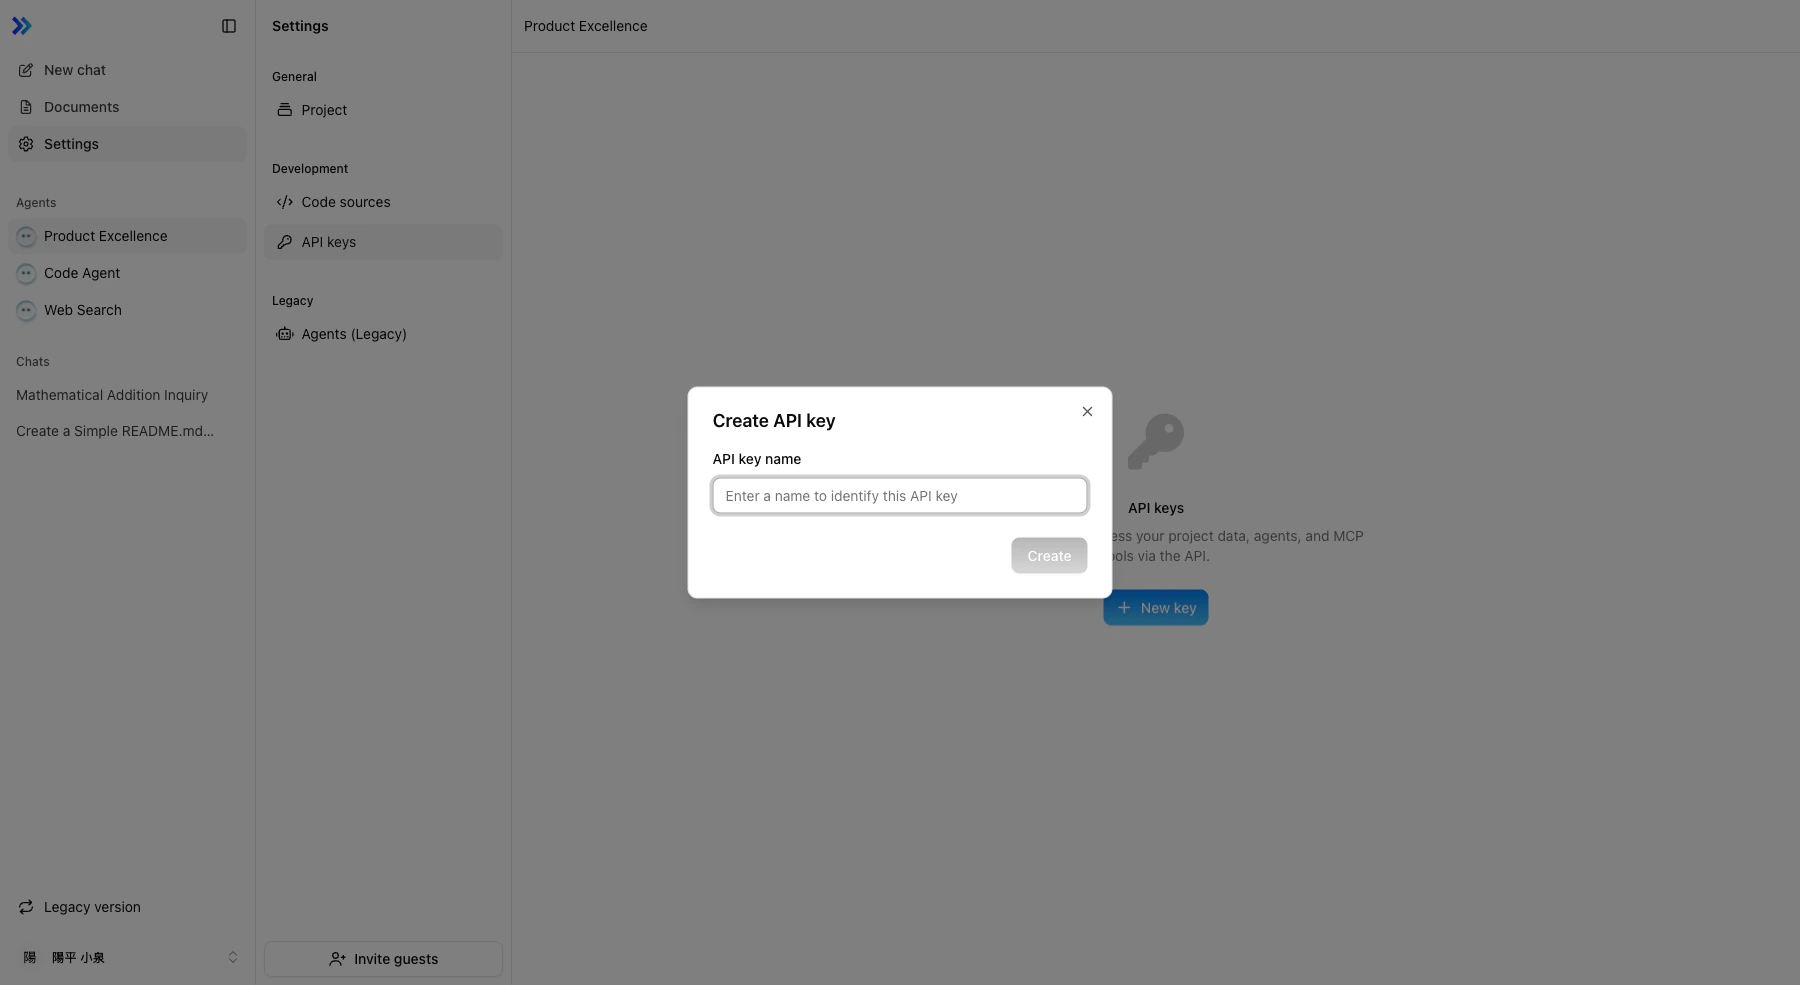
- Enter a descriptive name for the key (e.g., “Claude Desktop”, “CI Pipeline”)
- Click Create
-
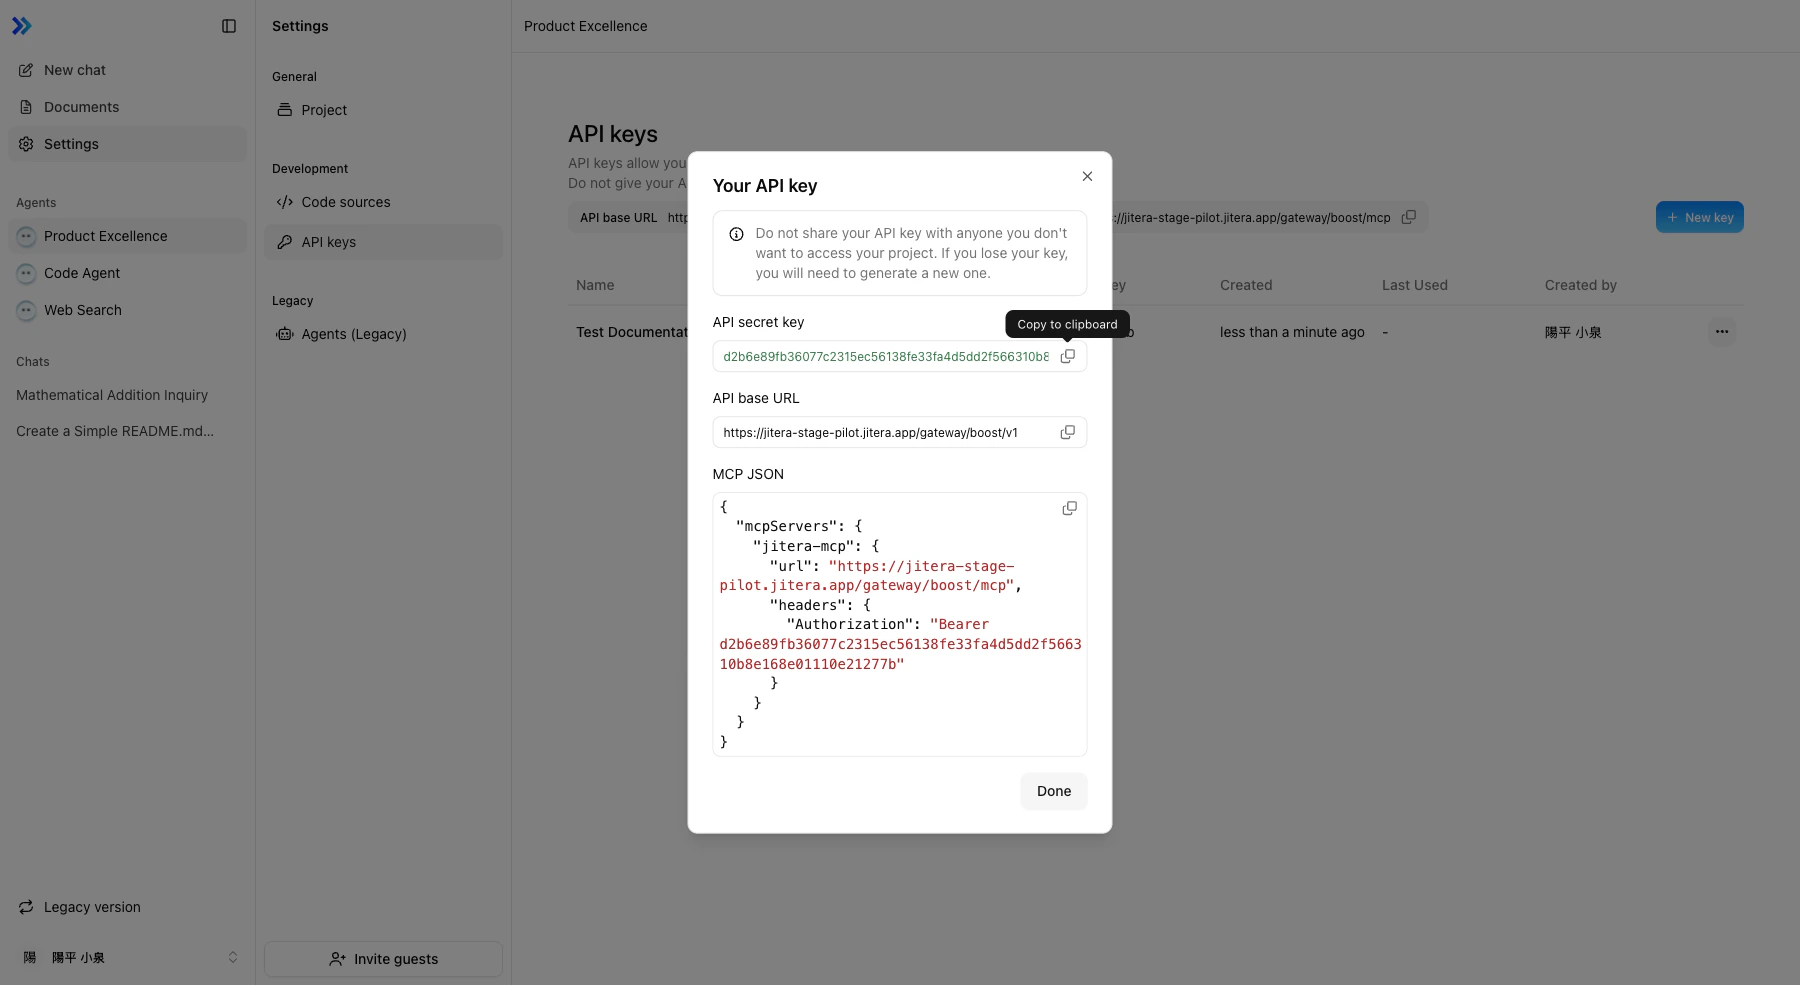
The dialog shows three items — copy all of them immediately:
- API Secret Key — The full authentication token (shown only once)
- API Base URL — The endpoint for API requests
- MCP JSON — A ready-to-use MCP server configuration
Using with MCP Clients
The MCP JSON configuration can be copied directly into MCP-compatible tools. For example, to use Jitera’s agents and tools in Claude Desktop or Cursor:- Create an API key as described above
- Copy the MCP JSON from the dialog
- Paste it into the MCP server configuration of your external tool
- The external tool can now access your Jitera agents’ tools via MCP
https://proxy-us.jitera.ai/gateway/boost
Enterprise customers with a Japan server deployment use different endpoints. If your organization has opted for a Japan-based server, replace the URL with one of the following:
https://gateway-proxy.jitera.app/gateway/boosthttps://ai.jitera.app
Using as an OpenAI-Compatible API
The Jitera API follows the OpenAI API specification. You can use any OpenAI-compatible SDK or HTTP client by pointing it to the Jitera API Base URL.Authentication
All API requests require theAuthorization header:
Available Endpoints
| Method | Endpoint | Description |
|---|---|---|
GET | /v1/models | List available models |
GET | /v1/models/{model_id} | Get a specific model |
POST | /v1/chat/completions | Chat completion (streaming and non-streaming) |
POST | /v1/files | Upload a file |
GET | /v1/files | List files |
GET | /v1/files/{file_id} | Get file metadata |
DELETE | /v1/files/{file_id} | Delete a file |
GET | /v1/files/{file_id}/content | Download file content |
Chat Completions
POST /v1/chat/completions
Send a chat request to a Jitera agent. The request and response follow the OpenAI Chat Completions format.
Request:
Streaming
Set"stream": true to receive the response as Server-Sent Events (SSE). Each event is a JSON chunk in the data: field:
Models
Use themodel field to select which agent handles the request:
| Model ID | Description |
|---|---|
jitera/chat:latest | Default Jitera chat agent |
jitera/<agent_id> | A specific custom agent (use the agent’s ID) |
GET /v1/models to list all available models for your project.
Example with OpenAI SDK (Python)
Example with cURL
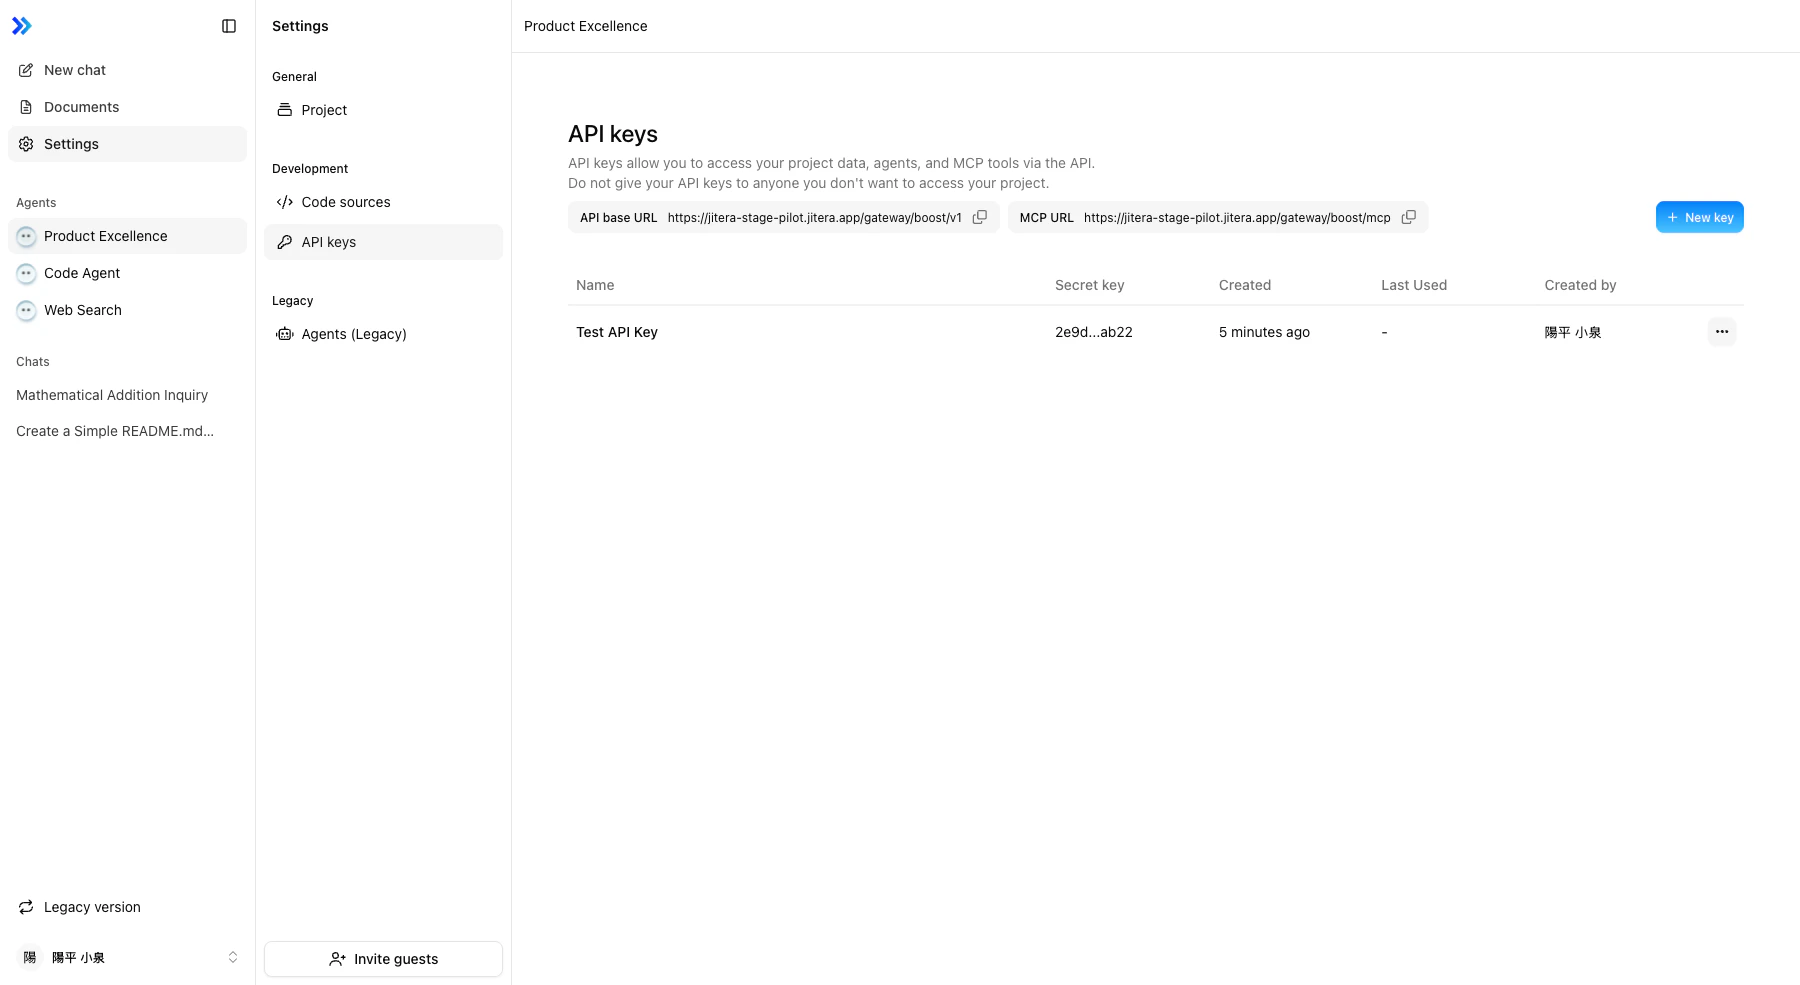
Managing API Keys
The API keys list shows:| Column | Description |
|---|---|
| Name | The name you gave the key |
| Created | When the key was created |
| Last used | When the key was last used for an API request |
| Created by | The team member who created the key |
Related
- Apps (MCP) — Connecting MCP apps to agents
- Managing Agents — Agent creation and configuration
- Automation — Scheduling agent tasks